Nuts about Hazelnuts: Apple and Hazelnut Chutney
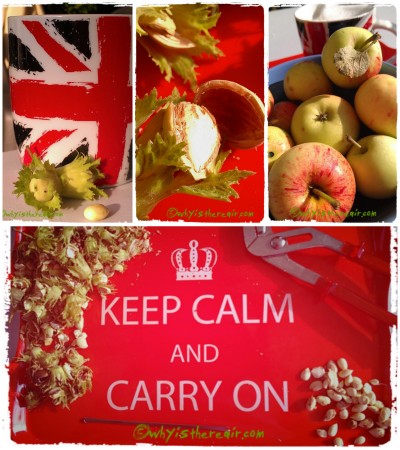
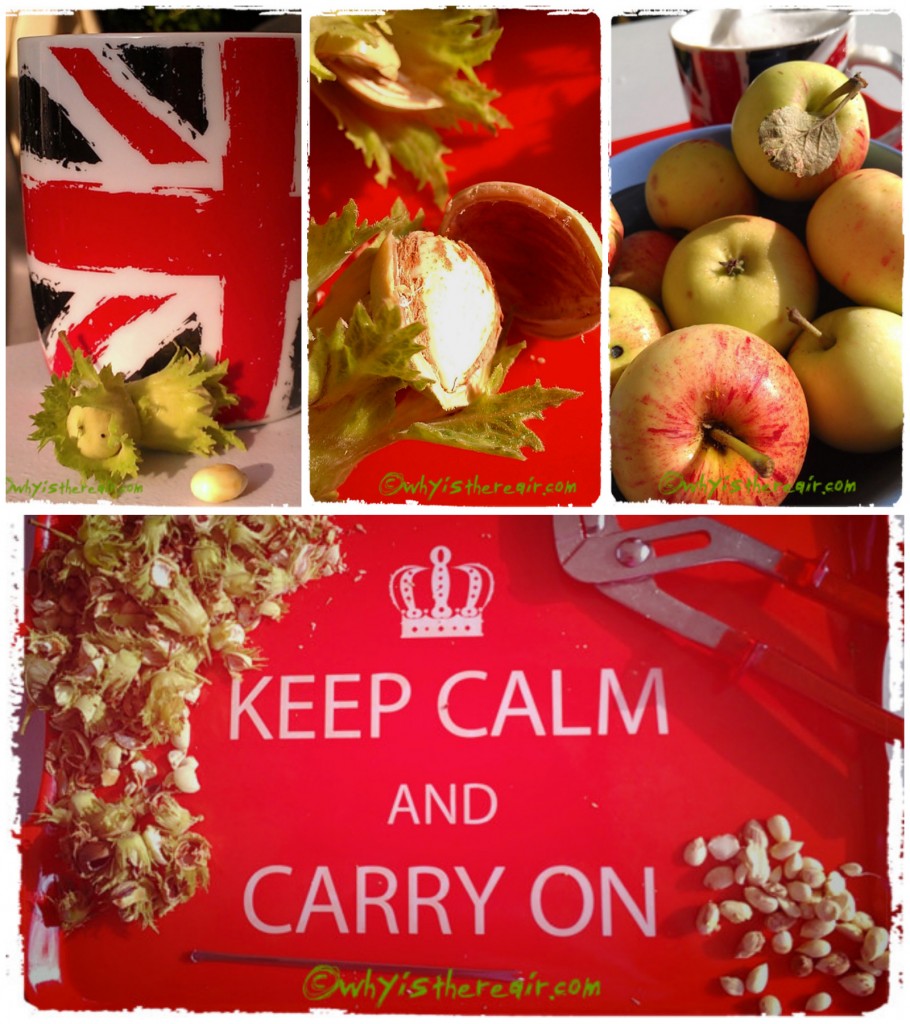
Crack, crack, rumble. Rumble, crack, crack. Rumble, rumble, rumble. As I sit outside early on a sunny morning in the centre of France cracking open hazelnuts, I hear the rumble of farm and vineyard machinery going down the street, preparing for a morning tending the fields and vines of the Sancerrois. It’s late August and the local flora is ripening and getting ready to be harvested. We missed the cherries – such a shame, there were loads of them, not ripe enough while we were last here, that made a veritable feast for the birds – so I am determined to gather what else I can. Our walk along the old railway line yielded an unknown variety of very small, tart apples and some delightful fresh hazelnuts. Our pantry yielded onion, garlic, ginger, some cider vinegar and Madras curry powder so there it is: I shall make an Apple and Hazelnut Chutney.
Madame Thermomix’s Apple and Hazelnut Chutney
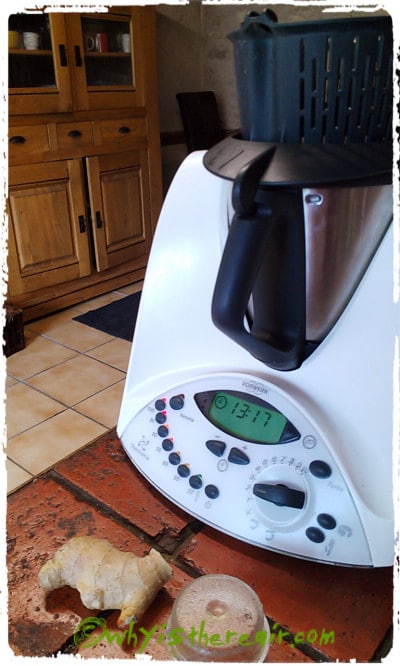
Makes two jars and can easily be doubled. Use your imagination and your own ingredients to make an infinite variety of seasonal chutneys. This one sounds like it will be good with pork chops accompanied by steamed quinoa and cabbage – all prepared fat-free in my Thermomix with the help of both the internal steamer basket and the Varoma steamer 😉
Ingredients
2 cloves garlic
1 medium onion, peeled and quartered
3 to 4 cm fresh ginger, peeled and cut into “coins” along the lines of the skin
15 g fresh hazelnuts, weighed after shelling
250 g cooking apples, skin on, weighed after coring (a good 300 g before coring)
100 g cider vinegar
200 g sugar
1 ½ tsp. salt
1 heaping tsp. Madras curry powder
Method
- Peel the garlic 4 seconds/Speed 4 ½ /Reverse Blade Direction. Add hazelnuts to bowl, close and lock lid, and then drop ginger and onion onto running blades at Speed 5. Turn off after 2 seconds.
- Scrape sides of TM bowl with the spatula. Add the remaining ingredients. Cook 100° C/10 minutes/Speed 2.
- Remove Measuring Cup and place the internal steamer basket on the lid. [Thermomix tip: placing the internal steamer basket on the lid during cooking allows more steam to escape so your chutney (or soup, or sauce or other liquid) can reduce and thicken, while stopping spattering. It is both useful and it’s another great Thermomix safety feature as it will reduce the chance of getting burned from spatters.] Cook again 100° C/15 minutes/Speed 2 or until it looks like nice thick jam. (Cook at least 20 minutes if doubling recipe.) It will thicken more as it cools. Pour into sterilised jars or serving pots and seal with sterilised lids. (Due to the acid content of chutney, it is best to use non-metallic lids.) Let the flavours develop for a day or two before eating – if you can wait that long – or store in a cool place. Mine was intended to be eaten the next day when friends came over so I put it directly into serving dishes. First taste while still warm was absolutely delicious and I can’t wait to taste it tomorrow 😉
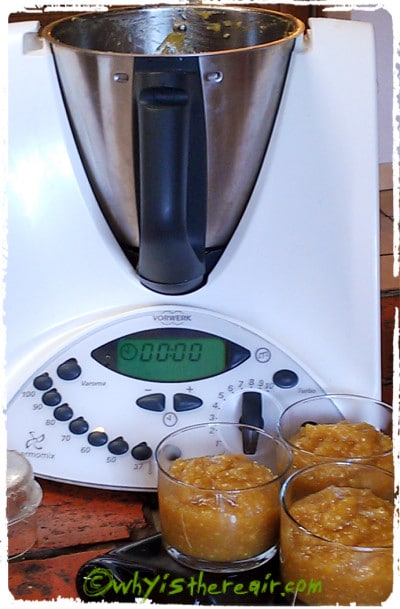
Bon appétit !
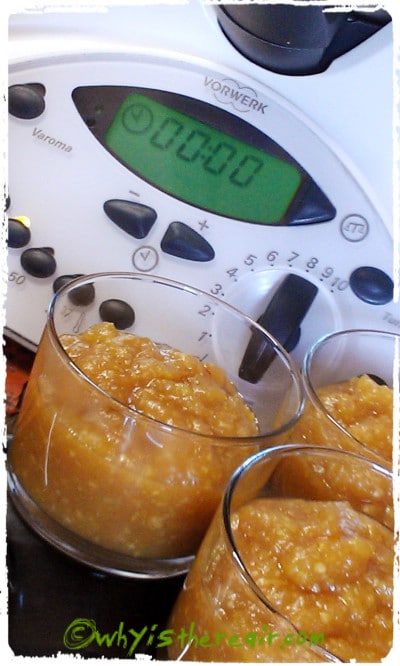
Just going to make some pineapple chutney, Nora, so it should be tasty and pretty, too!
Jane, they look scrumptious! Would love to dip my finger in one of those pots, must be delicious with some cheese and crusty bread… Haven’t made chutney in ages but would definitely love to try making these!